- • Overall Width: 63"
- • Base-to-Floor: 22"
- • Leg Width: 7"
- • Overall Height: 62"
- • Headboard Width: 6"
- • Height-From-Floor: 3"

SKU:
Couldn't load pickup availability

Proceeds from our furniture fund our 75,000sf Youth & Community Center
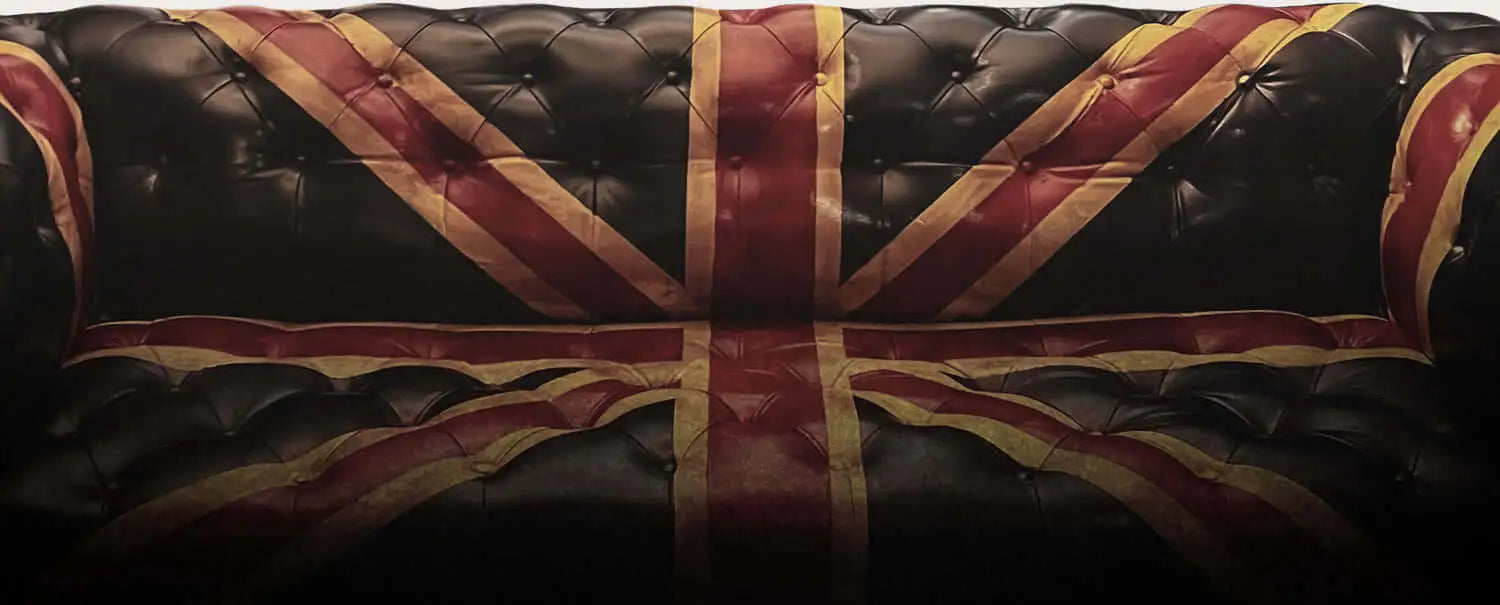
Our Community CenterThe Laramie Chesterfield Leather Headboard is made to order from the finest quality, buffalo brown top-grain leather, which we dye in-house ourselves. Our tufted headboards easily mount to the wall, allowing them to be used with any existing bed frame. Please see the "Assembly & Maintenance" section below for the complete mounting instructions.
All furniture is backed by an unprecedented 365-day money-back guarantee. We take our quality seriously—and our cause even more. Proceeds from every purchase fund the Rising Tide Center, where we provide free youth sports and after-school to 1,600+ local kids in our hometown of Beloit, Wisconsin.
Upon completion, you are welcome to pickup your furniture in-person for free (BELOIT, WI 53511). If this is the method you'd like to use, please select the option for "Local Pickup" at Checkout.
We also deliver anywhere in the lower 48 using couriers to personally deliver your furniture. Delivery via courier is a flat-rate of $375 regardless of order size.
Lead Time: ~14-16 Weeks
Our Leather
Our Chesterfields are made of nothing but top-grain buffalo hide throughout. During the tanning process, buffalo hides aren’t stretched like their cowhide counterparts. This makes buffalo hide stiffer and more difficult to work with, but in return gives a thicker and more durable hide.
Almost all furniture companies source their leather pre-dyed and pre-finished. This leads to terms like aniline and semi-aniline which refer to the state of the leather (combination of dye, top-coat or lack thereof, etc) when the leather leaves the tannery. What makes us special is we source our leather from the tannery “naked” and dye it in-house ourselves. This process is quite involved, but allows us to achieve the colors and tonal variations that make our furniture so unique.
Making beautiful furniture is important, but even more important is ensuring it stays that way. Because many of our customers have households full of active two and four-leggers, all our furniture is finished with a thin, protective top coat for added durability.
Clear top coats such as resolene are excellent for not only providing scratch and stain resistance, but also retaining the color and vitality of your furniture that we put so much effort into. If applied too thick however, the sealing properties of many of these top coats can make it difficult for leather to absorb the conditioner necessary to keep it moisturized and flexible over time. Dry leather leads to cracked leather. This is why we “cut” (dilute) our top-coat and apply it in a very thin layer. Enough to help protect your leather from everyday scratches and stains, but not enough to prevent conditioner from being absorbed. That said, it still is very important that when you apply conditioner, you do so thoroughly and really allow it to soak in.
Our Furniture Frames
Our Chesterfields are constructed on frames made out of mango wood, which is a sustainably sourced hardwood with similar density and traits to oak. We use corner blocking and significant cross-bracing to reinforce the frames.
The full array of dimensions along with corresponding diagrams can be found further down this page.
Mounting Your Headboard
Designing and furnishing a space is difficult enough. Our headboards are compatible with any existing bed frame. We did our best to make them easy to setup too.
Connecting the headboard to the the bed frame is often done, but is problematic for several reasons. These headboards are of significant weight with a high center of gravity. That center of gravity is much higher than where any connection to the bed frame would be. This is compounded by the legs on most headboards failing to account for the baseboard (¾”) and shoe moulding (¾”) in your home. These usually combine to protrude ~1.5” from your wall, resulting in a similar sized gap manifesting behind your headboard. That gap means there is nothing to prevent that wobbly, top-heavy headboard from rattling against the wall, turning your newly furnished bedroom into the honeymoon suite at the local motel.
The legs on our headboards are constructed to accommodate the thickest of baseboard and shoe moulding, while still allowing the headboard to rest flush up against the wall. Fastening the headboard to the wall thus ensures two planes of contact between both the floor and the wall. The headboard isn’t going anywhere, even if it is going in the honeymoon suite. The widest part of the legs are offset 1 ½” from the back of the headboard (to accomodate up to 1 ½” thick baseboard) and the bottom of the legs are offset a full 2 ½” (accomodate up to 1 ½” thick baseboard + 1” shoe mould).
MATERIALS REQUIRED
Ongoing Maintenance
We do our utmost to present you with the highest quality leather furniture. Ensuring it stays that way however, is largely up to you the customer. Leather is an organic material composed of small fibers, and just like our skin, these fibers have the tendency to lose their natural oils and dry out over time. When they do, they become brittle and prone to cracking as you will often see in old, neglected leather.
By regularly applying a leather conditioner, you ensure these fibers stay moisturized and flexible. Better able to withstand whatever your two leggers (or four) happen to throw at it. We encourage customers to apply conditioner when they first receive their furniture, as well as every 6 to 9 months thereafter. In addition to protecting the leather, the conditioner also slightly darkens the leather and can give it a slight sheen (depending on if wax is present). Thus, there is an aesthetic component to applying the conditioner as well.
Those full leather care instructions can again be found here (https://therisingtide.com/pages/leather-care).
UV Rays & Sunlight
We strongly advise that you keep your leather furniture out of direct sunlight if possible. UV rays from the sun can damage and fade the leather.
Applying Leather Conditioner
Leather is an organic material composed of small fibers, and much like our skin, these fibers have the tendency to lose their natural oils and dry out over time. When they do, they become brittle and prone to cracking as you will often see in old, neglected leather.
By regularly applying a leather conditioner, you ensure these fibers stay moisturized and flexible. Better able to withstand whatever your two leggers (or four) happen to throw at it.
When you first receive your furniture, it has been tightly packed and wrapped from its long transit. It needs to be given an opportunity to breathe! We encourage that the furniture be allowed to sit for 24-48 hours AFTER being unpacked and BEFORE applying conditioner.
Leather is also an organic material that is quite prone to mold and mildew. Due to our long transit times with limited airflow, we purposely ship the furniture dry to minimize this possibility. That’s why it's important to get a quality conditioner applied to get those oils back into the hide (just wait the 24-48 hours).
When first applying the conditioner, the complete instructions can be found below. PLEASE NOTE that it is normal for there to sometimes be some slight dye transfer to the cloth or rag you use upon initial conditioning of the furniture. This is especially so for darker color leathers. However, after the initial application of conditioner has been thoroughly applied and buffed, there should be no dye-transfer.
For even more thorough instructions, please see our Leather Care & Maintenance Guide.
UV Rays & Sunlight
We strongly advise that you keep your leather furniture out of direct sunlight if possible. UV rays from the sun can damage and fade the leather.
Order Processing Time
All Chesterfields are currently handmade to order, with a 14-16 week lead time.
Due to the sheer number of different sizes and leather tones that we offer, it would be very cost inefficient for us to try stock the Chesterfields ahead of time. By only making furniture on a made to order basis, while it does take longer, it allows us to offer the prices we do.
Shipping Rates & Delivery Times
We use couriers to personally deliver all furniture anywhere in the Continental United States for a flat-rate delivery fee of $375, regardless of order size.
Upon completion of your furniture, you will be contacted via the contact info you leave at checkout to coordinate the exact delivery date and time of your furniture.
Estimated delivery time is 1-14 business days and will vary based on where you live.
Delivery is "threshold" which includes bringing the furniture inside your home or business. However, it does not include unpacking the furniture and removing the trash. If you are a senior, disabled, or have other special circumstances regarding delivery, please let us know and we'll be happy to assist.
In-person pickup is FREE, and is also an available option for all orders. In-person pickup is conducted by appointment only in Beloit, WI (53511).


FOUNDER
FOUNDER
FOUNDER
Hello there, I'm Cole. If you like supporting the little guy and are tired of overpriced furniture from faceless corporations, you’re in the right place. Our furniture is higher quality, our prices are way lower, and the profits fund our own 75,000sf Youth & Community Center (Rising Tide Center) here in Beloit, Wisconsin; where we provide FREE Youth Sports and FREE After-School to more than 1,600 local youth.
Due to the fact that we make and design all of our furniture ourselves, we currently only offer a handful of offerings. This is because each new item takes significant time to design, prototype, test, and perfect. This, combined with our small team, is also why we do not offer custom orders at this time. As time goes on, we hope to gradually expand our furnishings to a wider selection.
Due to the fact that we make and design all of our furniture ourselves, we currently only offer a handful of offerings. This is because each new item takes significant time to design, prototype, test, and perfect. This, combined with our small team, is also why we do not offer custom orders at this time. As time goes on, we hope to gradually expand our furnishings to a wider selection.